USS Enterprise Model Build – Part 13 – Endgame
So this weekend I finally took some time to apply the decals and apply a clear coat to the model. I decided to first apply a clear coat – attach the decals – and then apply another coat so that the decals don’t come off.
Applying first clear coat
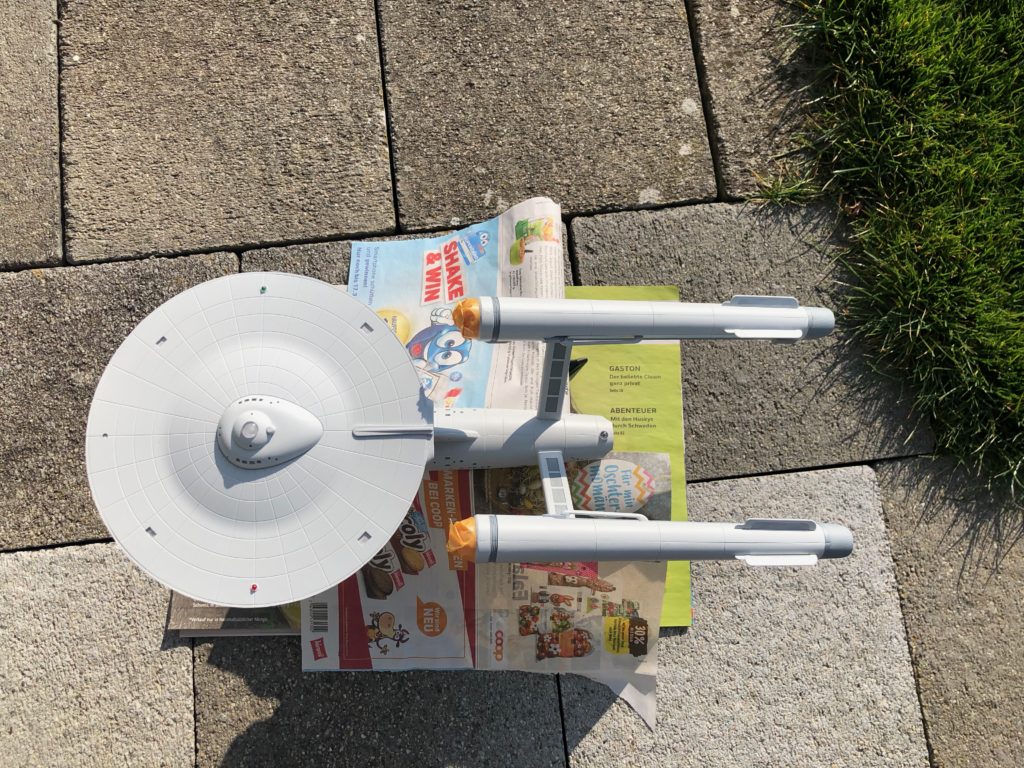
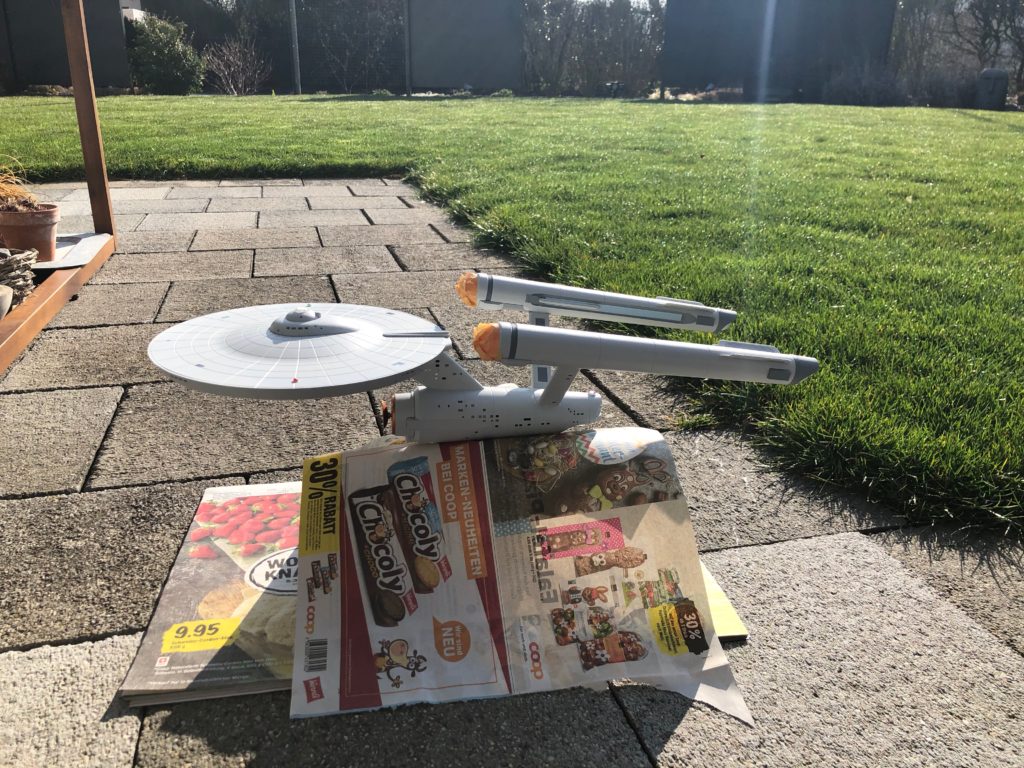
Applying the decals
Applying the decals turned out to be easy and very hard at the same time. Especially the large “NCC-1701” decal gave a huge headache. Applying it was very easy but making the silvery shine disappear was a problem that I could not fix. Even though I applied a lot of decal softener (stock decal softener from Revell) it had almost no effect on the decals.
I will have to ask for help on the forums I found online:
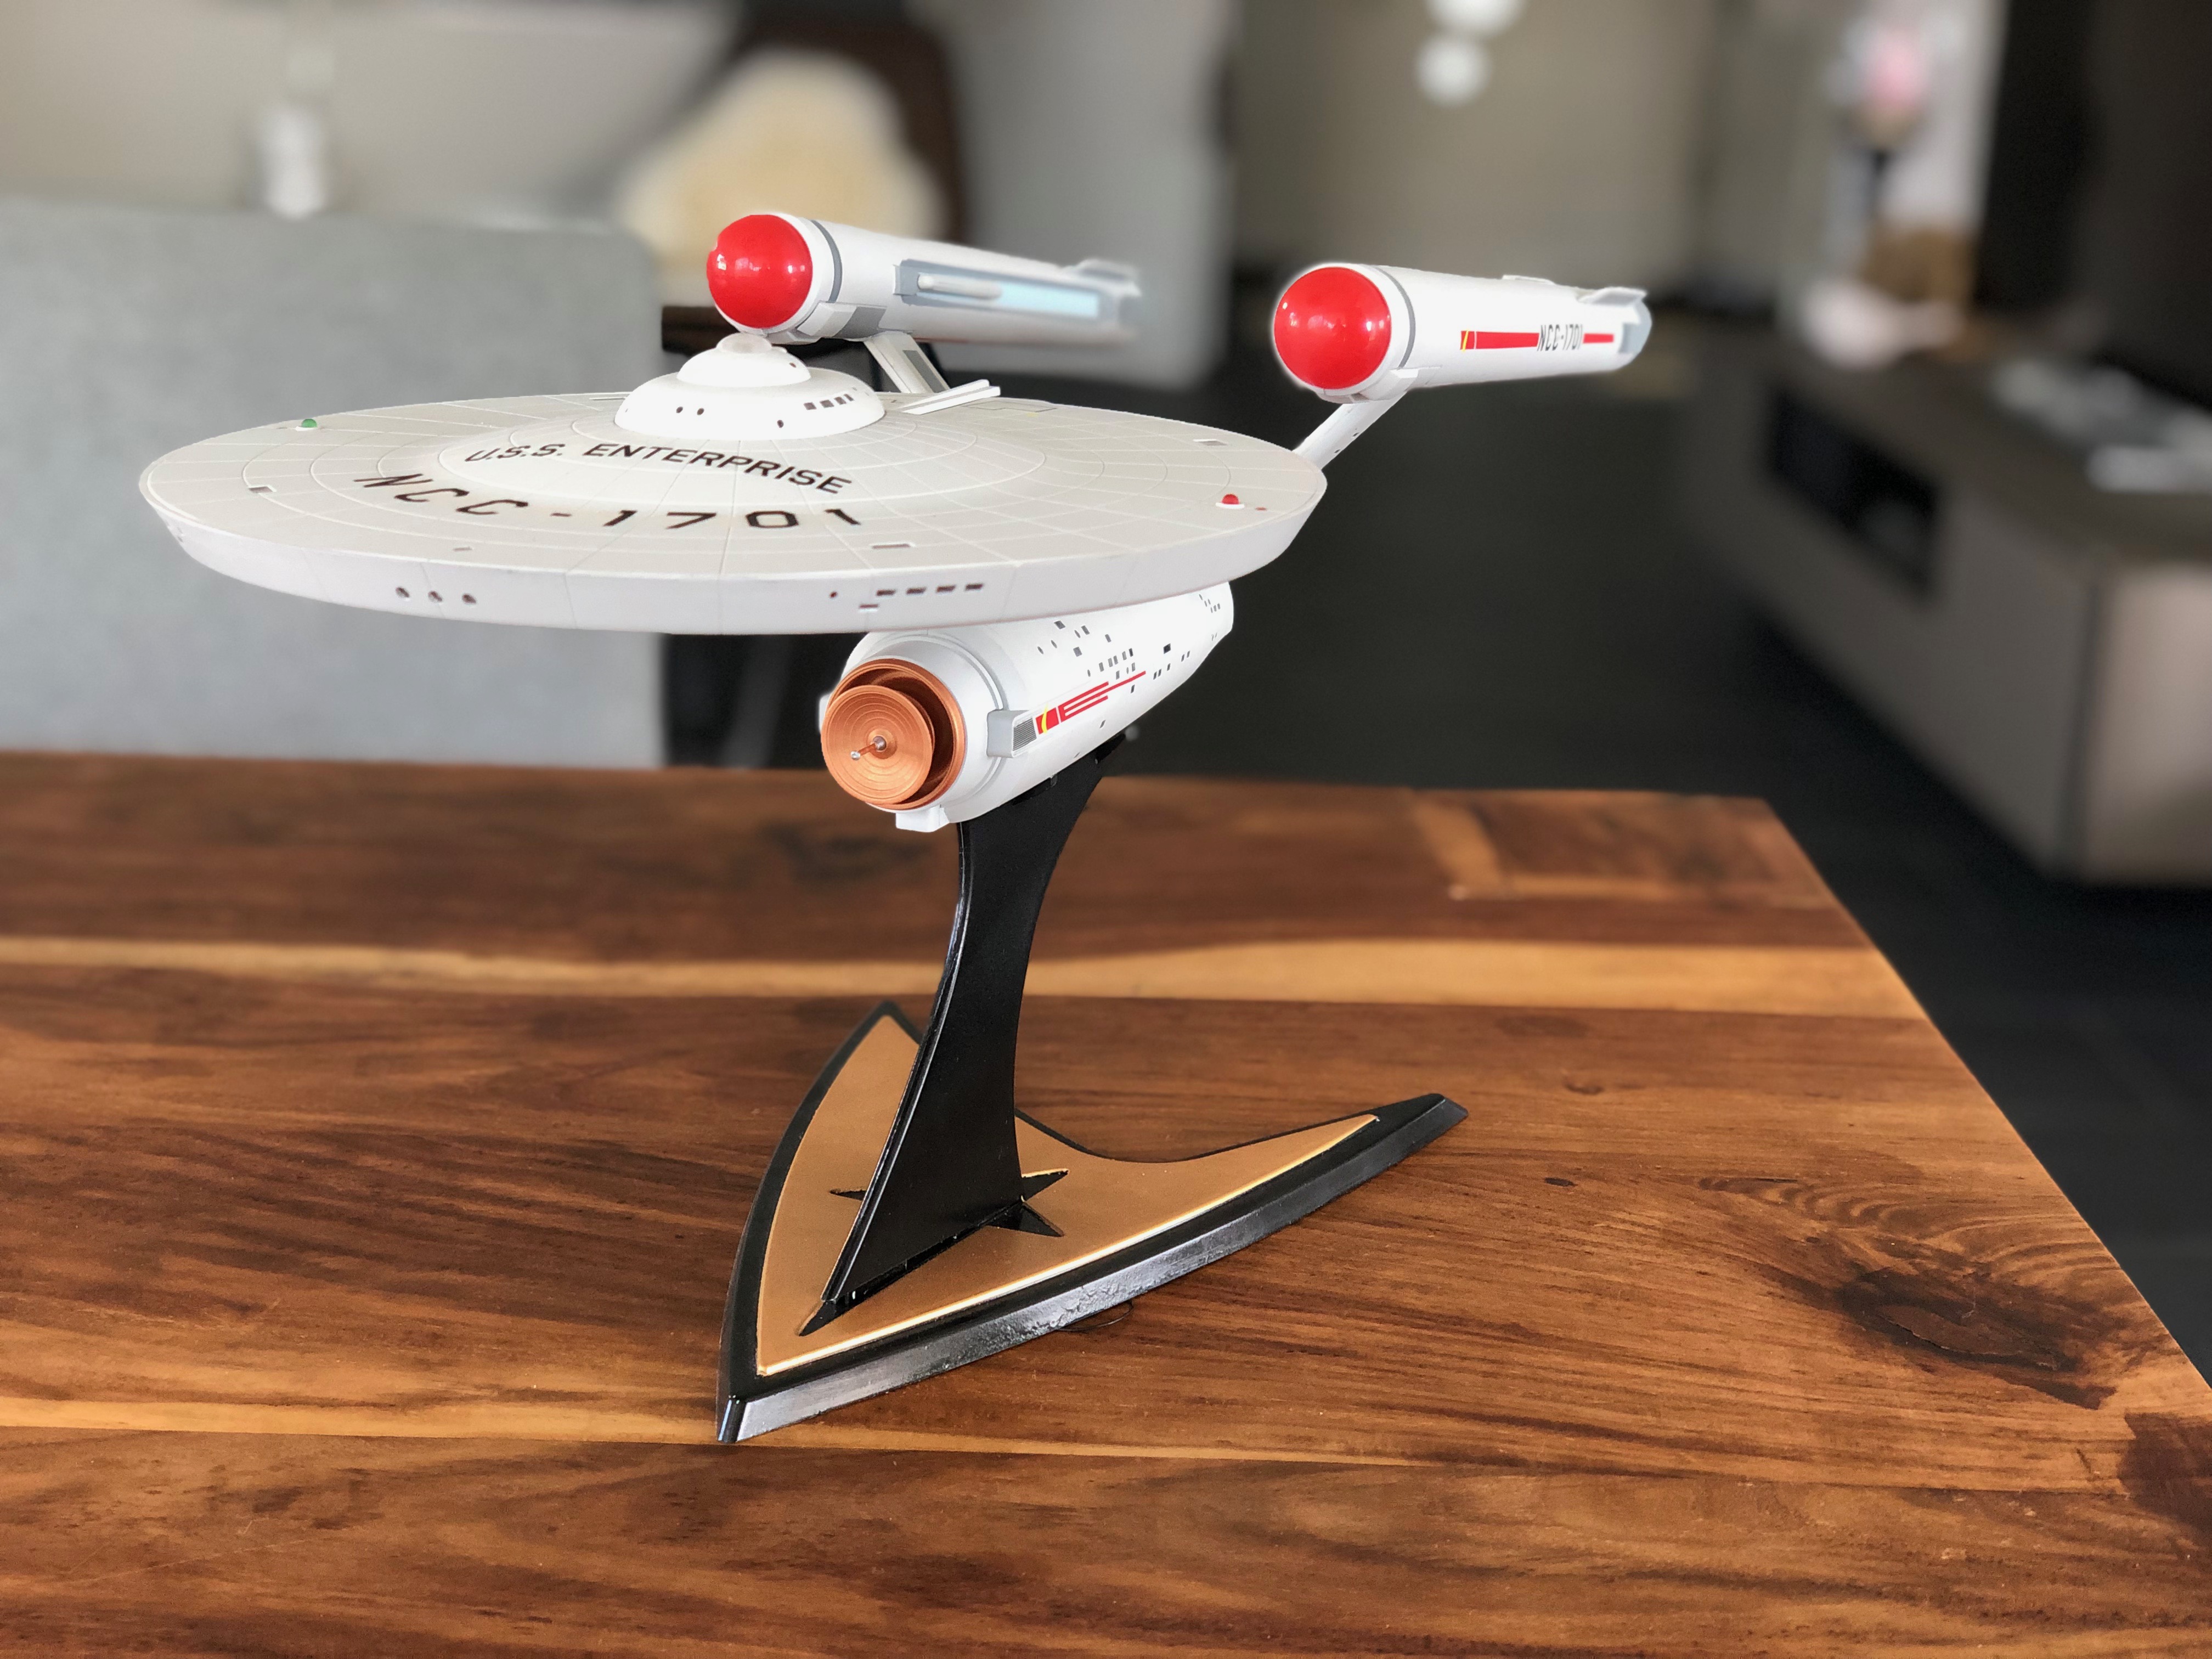
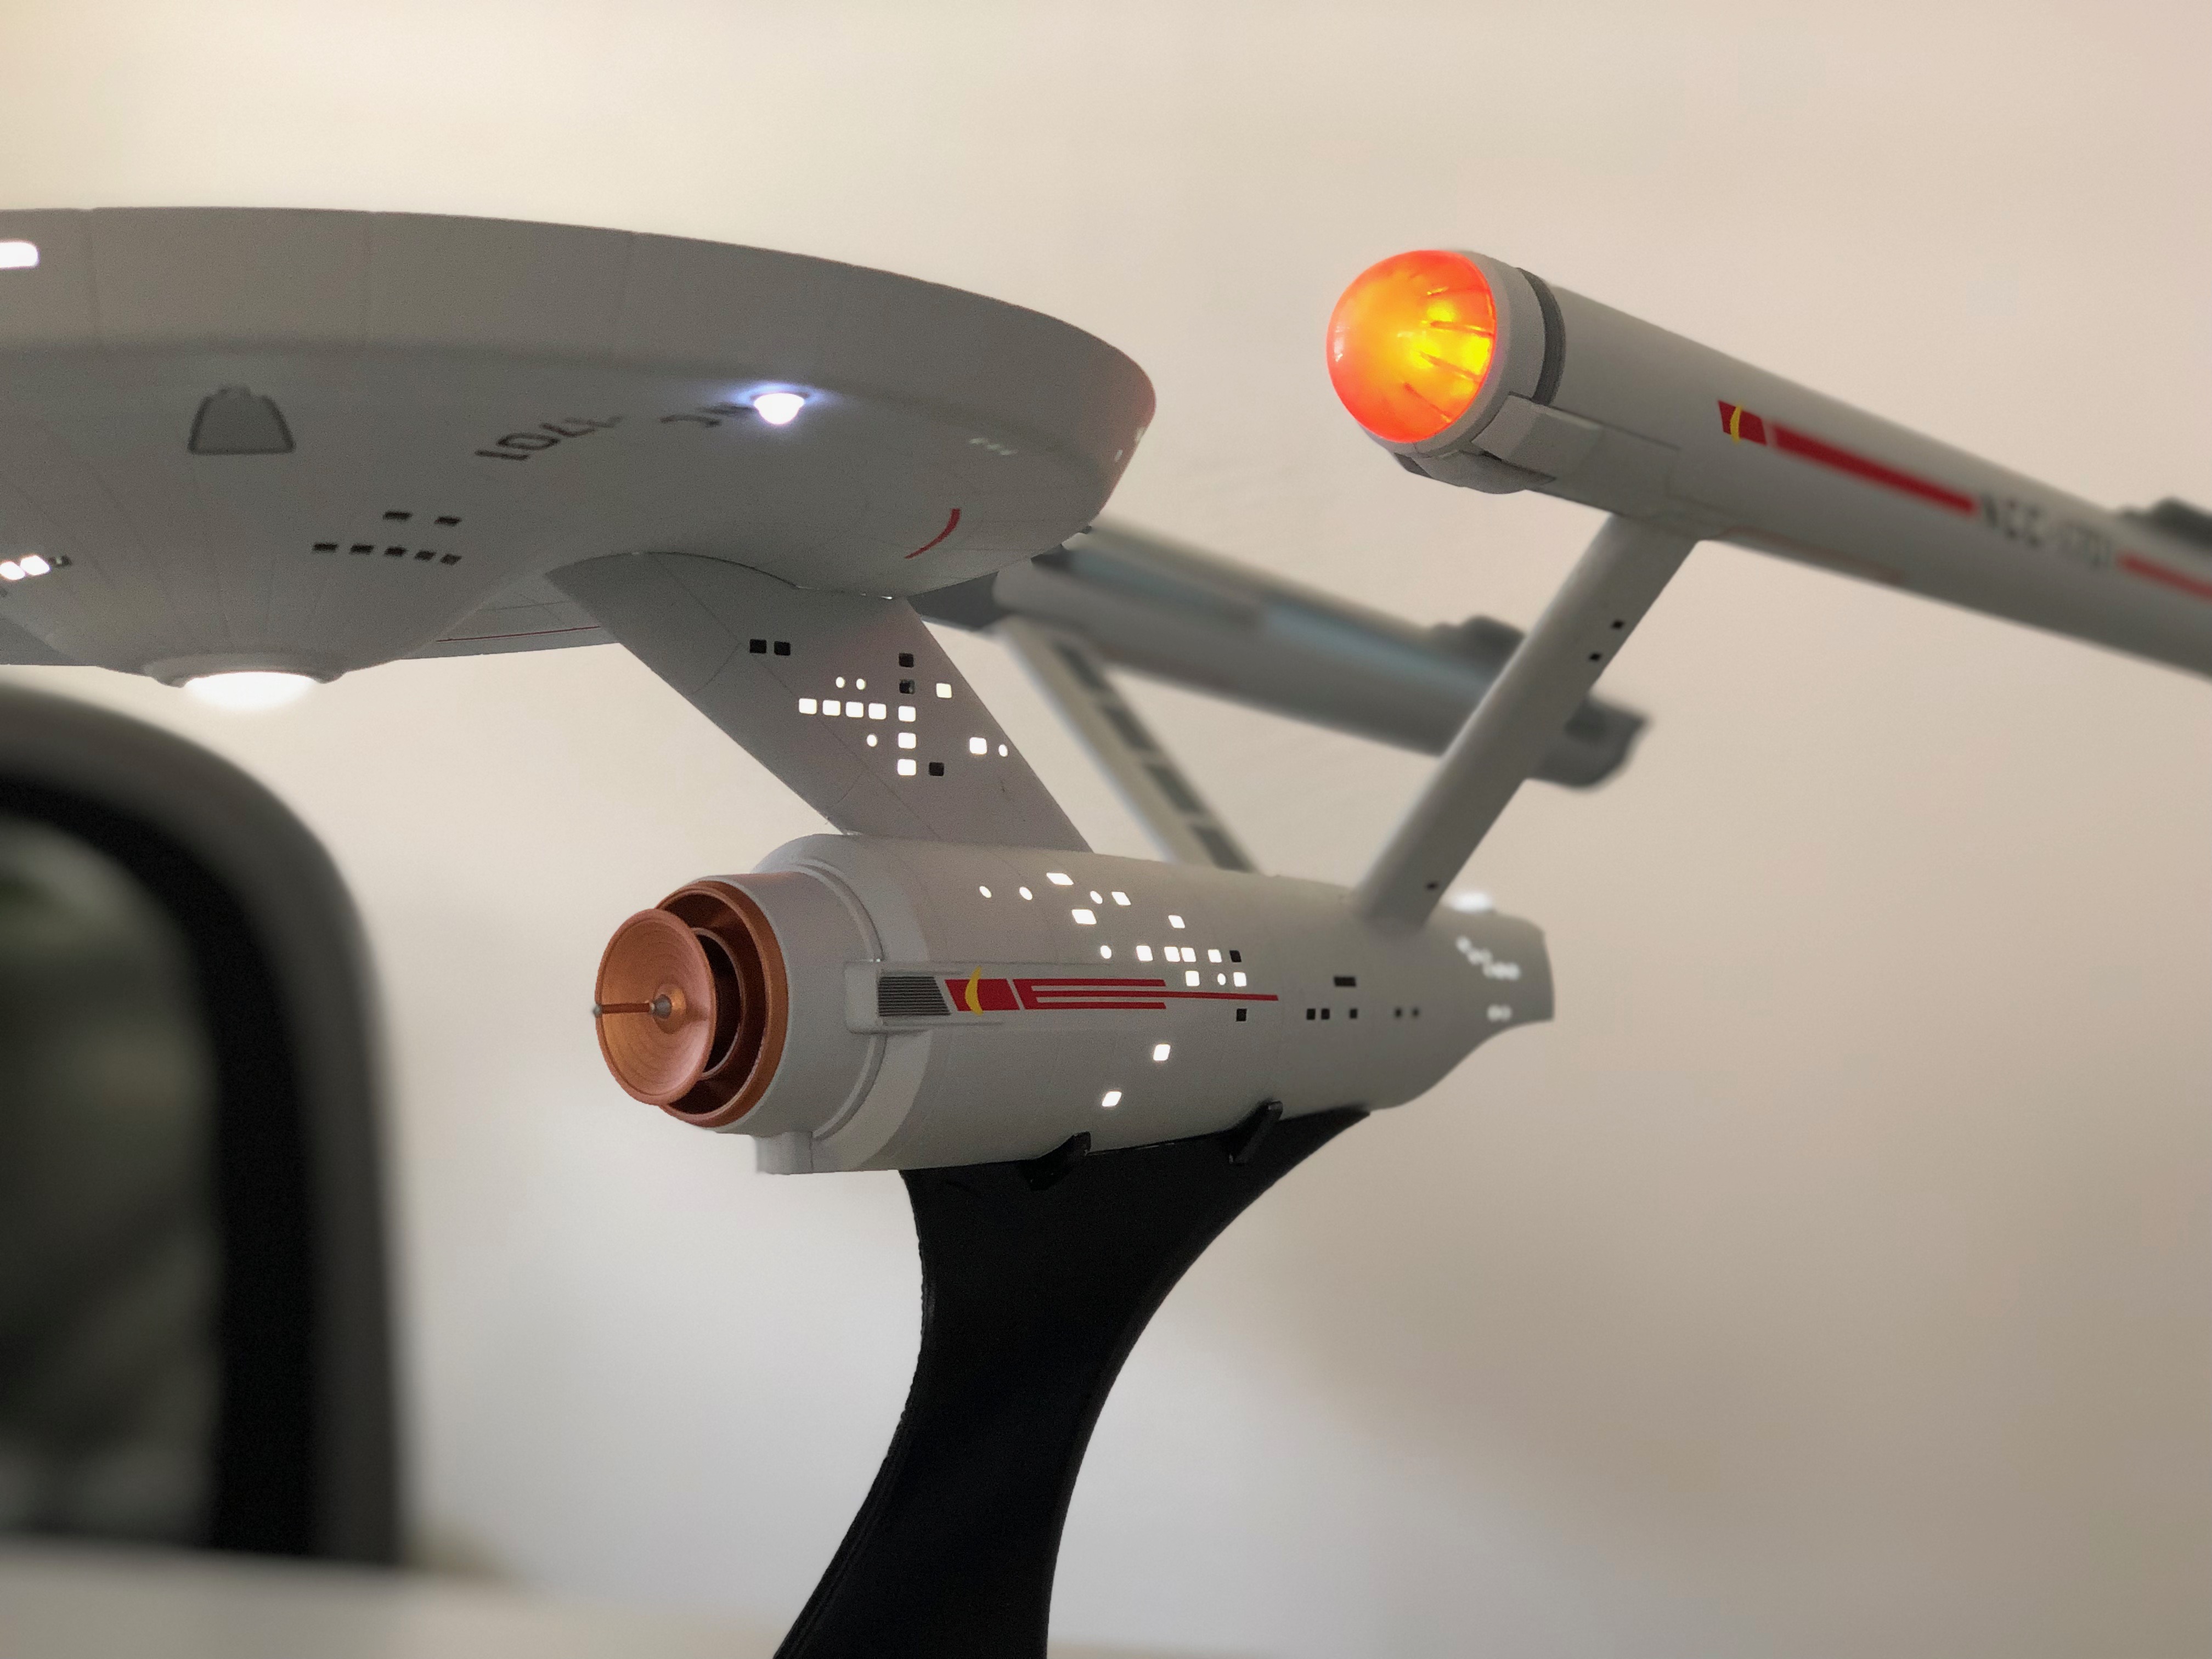
So I was quite frustrated about the decal situation but decided to leave it as it is. So After applying all the decals I added another coat of matte clear paint and that concludes my USS Enterprise build. All in all being the first model that I have built after many years and the first time that I’ve been using an airbrush as well as fiddling with circuit boards and LED lighting I think it turned out ok.
As mentioned above as well as in earlier posts, things I would like to have done better are:
- Get the angle of the nacelles 100% right. I think they droop too much downward in the rear
- Find a way to get rid of the silver shine of the large decals
Other than that I hope you enjoyed this build log. I certainly had a lot of fun : ) Here are some more pictures and a video of the final model.


Nice build. My dad died a few years ago and this was an unbuilt model sitting around. I decided I’ll build it and custom light it myself. I plan to use a raspberry pi pico to controll the lights so I could make changes in code for brightness or patterns if I want. Anyway, I really want to hang it, in stead of using the base mount. I’ve not seen anyone hang it and wondered if you’d run across that.
I’d need the center of gravity, and that seems hard to figure out even with a test fit. I’d run the wires up the hanging line and power through the pi anchored within a custom hang-mount.
I may have bitten off more than I can chew.
Hi Chris – did you ever get around to building your Enterprise model ?