Bandai AT-AT with LED lighting – Part 3
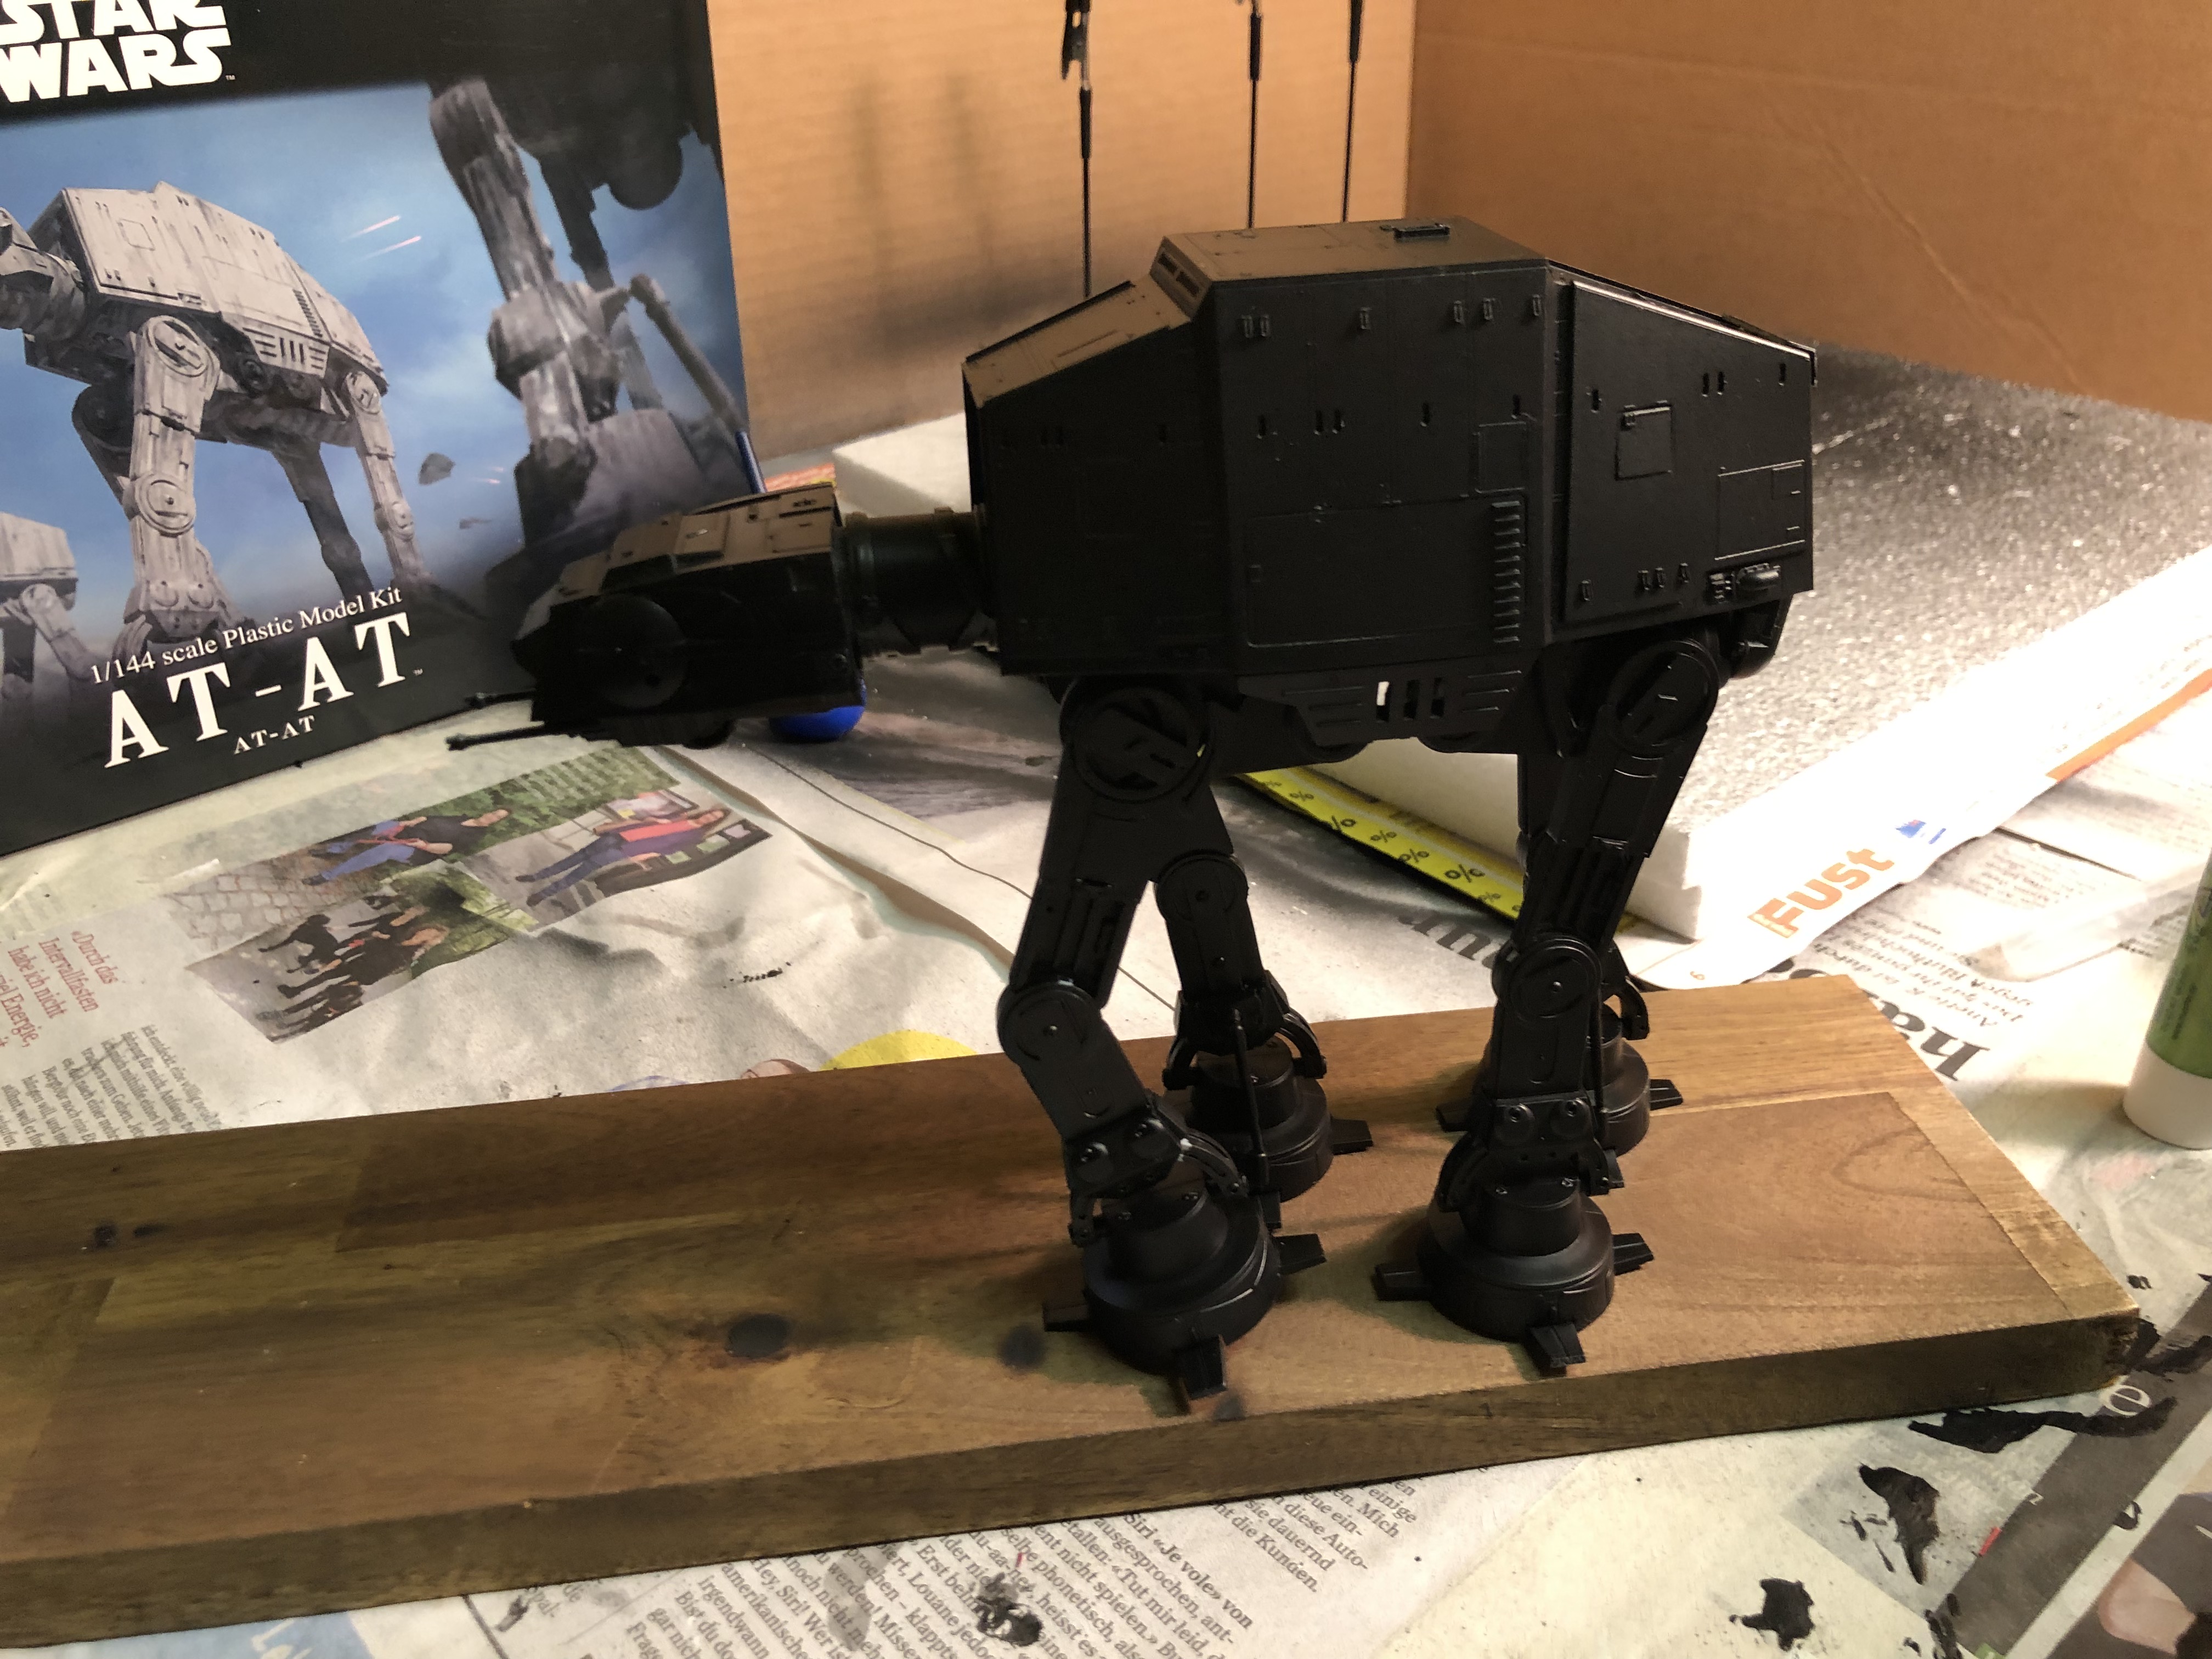
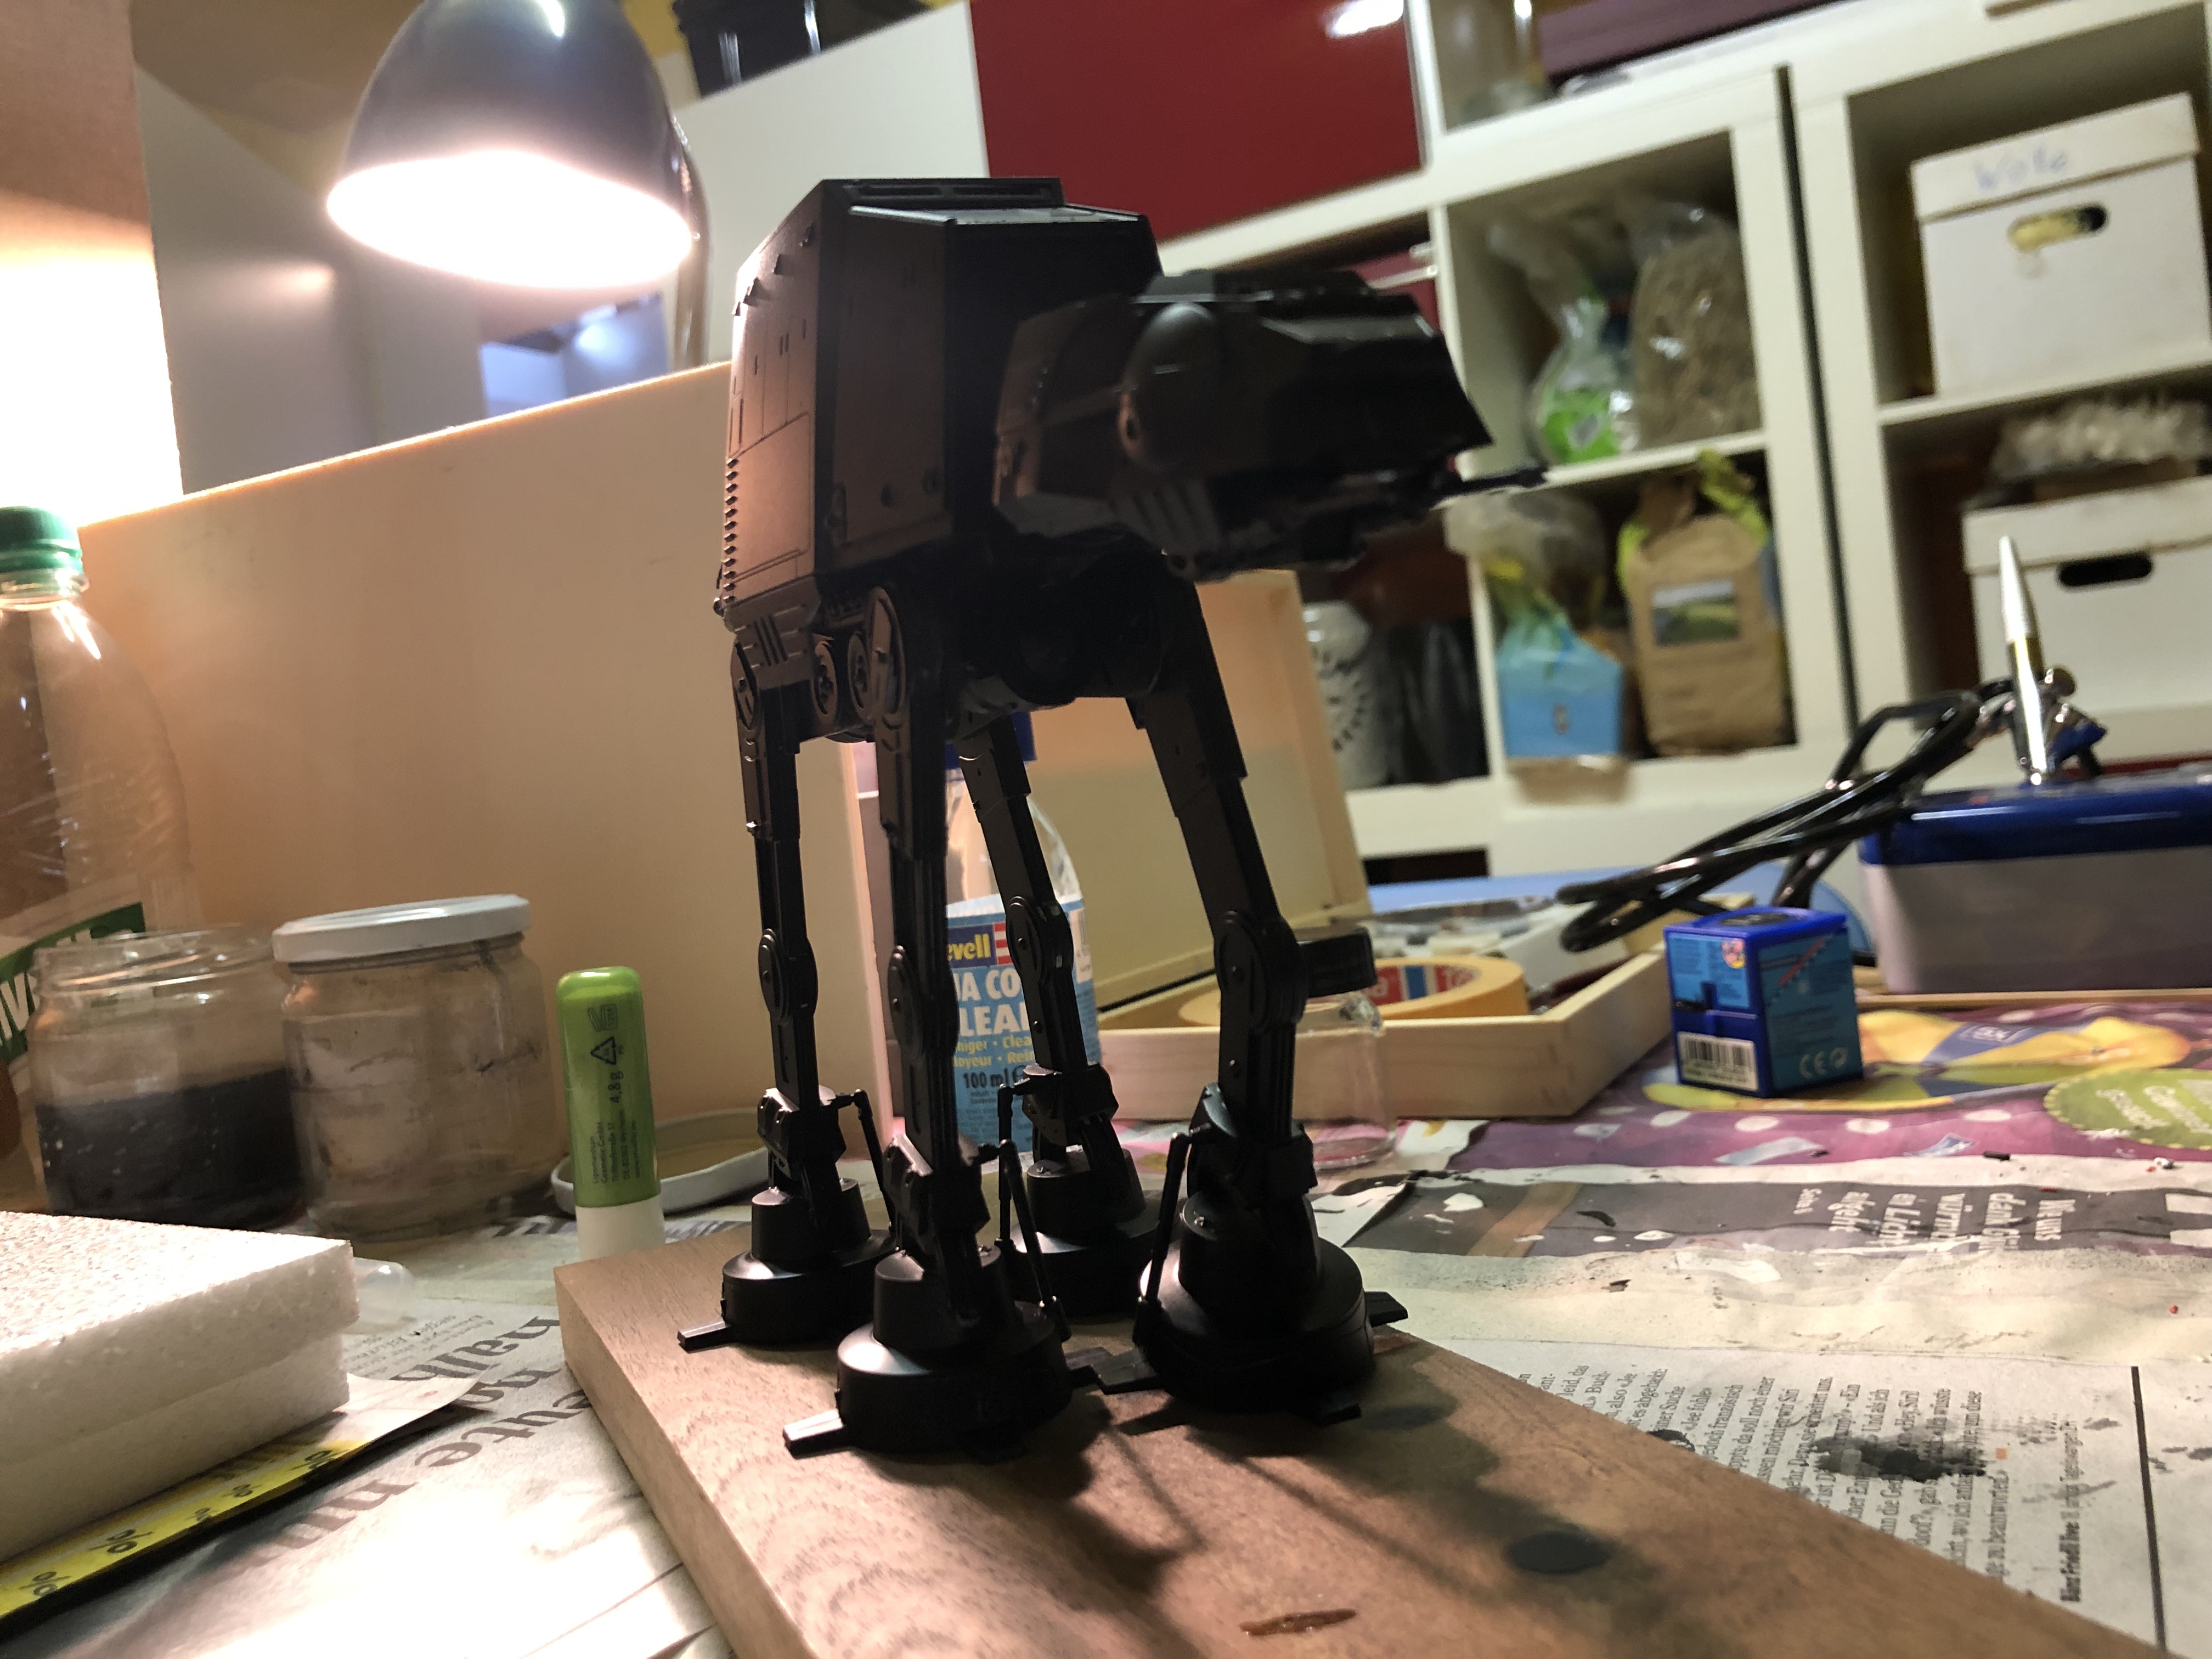
Black main coat
One of the build logs explained that be first adding a black coat and then adding white highlights the final look of the model would be much better. So this is what I would try with this model for the first time.
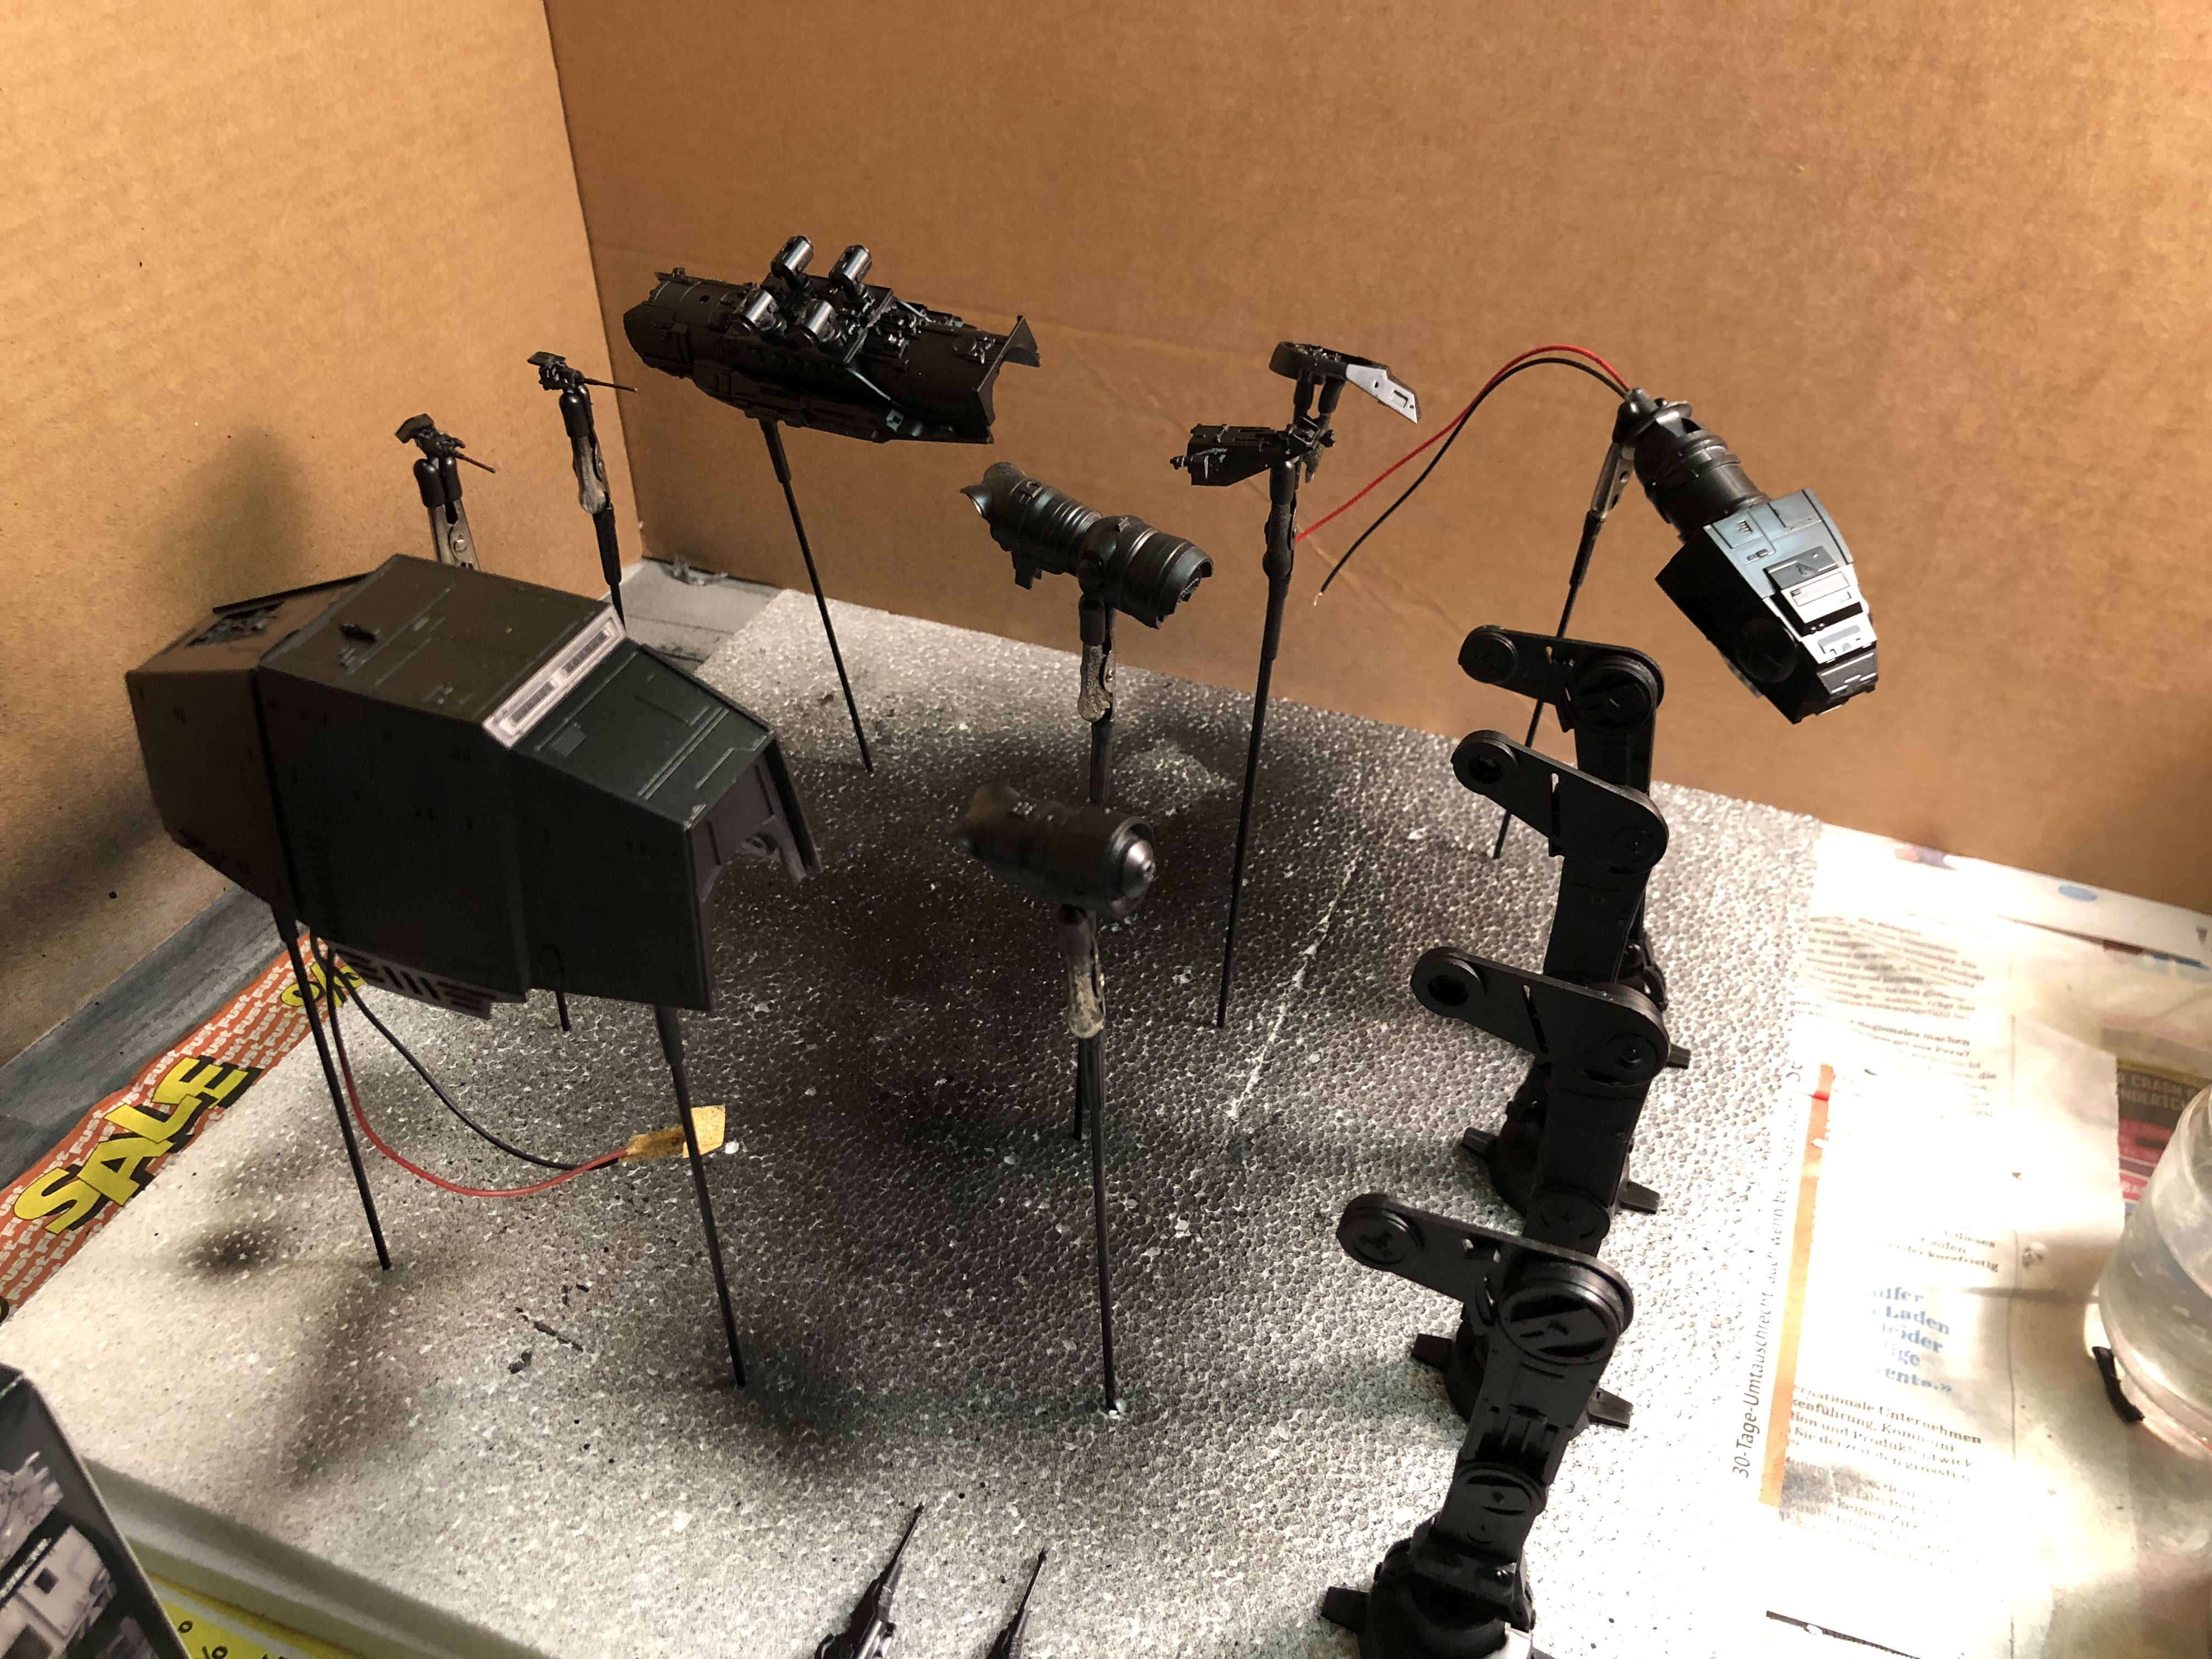
I recently got these crocodile clamps with long sticks attached so that I could use this setup for easier airbrushing.

I again had a really hard time to get the right mixture of Revell paint that would airbrush nicely. It was either too thin or too thick and lost a ton of time messing with this.
I’ve finally had enough of it and ordered a bunch of Valeijo airbrush paints that do not need to be thinned down and can be used directly. I hope these will work better.
Strike a pose
I then reassembled all the pieces and put the model into the position I wanted it to be in. Due to the moving parts I had to manually brush up several areas with black.

Next up I’ll add the white highlight layer once I’ve received the new Valeijo paints in the mail.


