Build your own retro arcade system
I am a kid of the 80ies
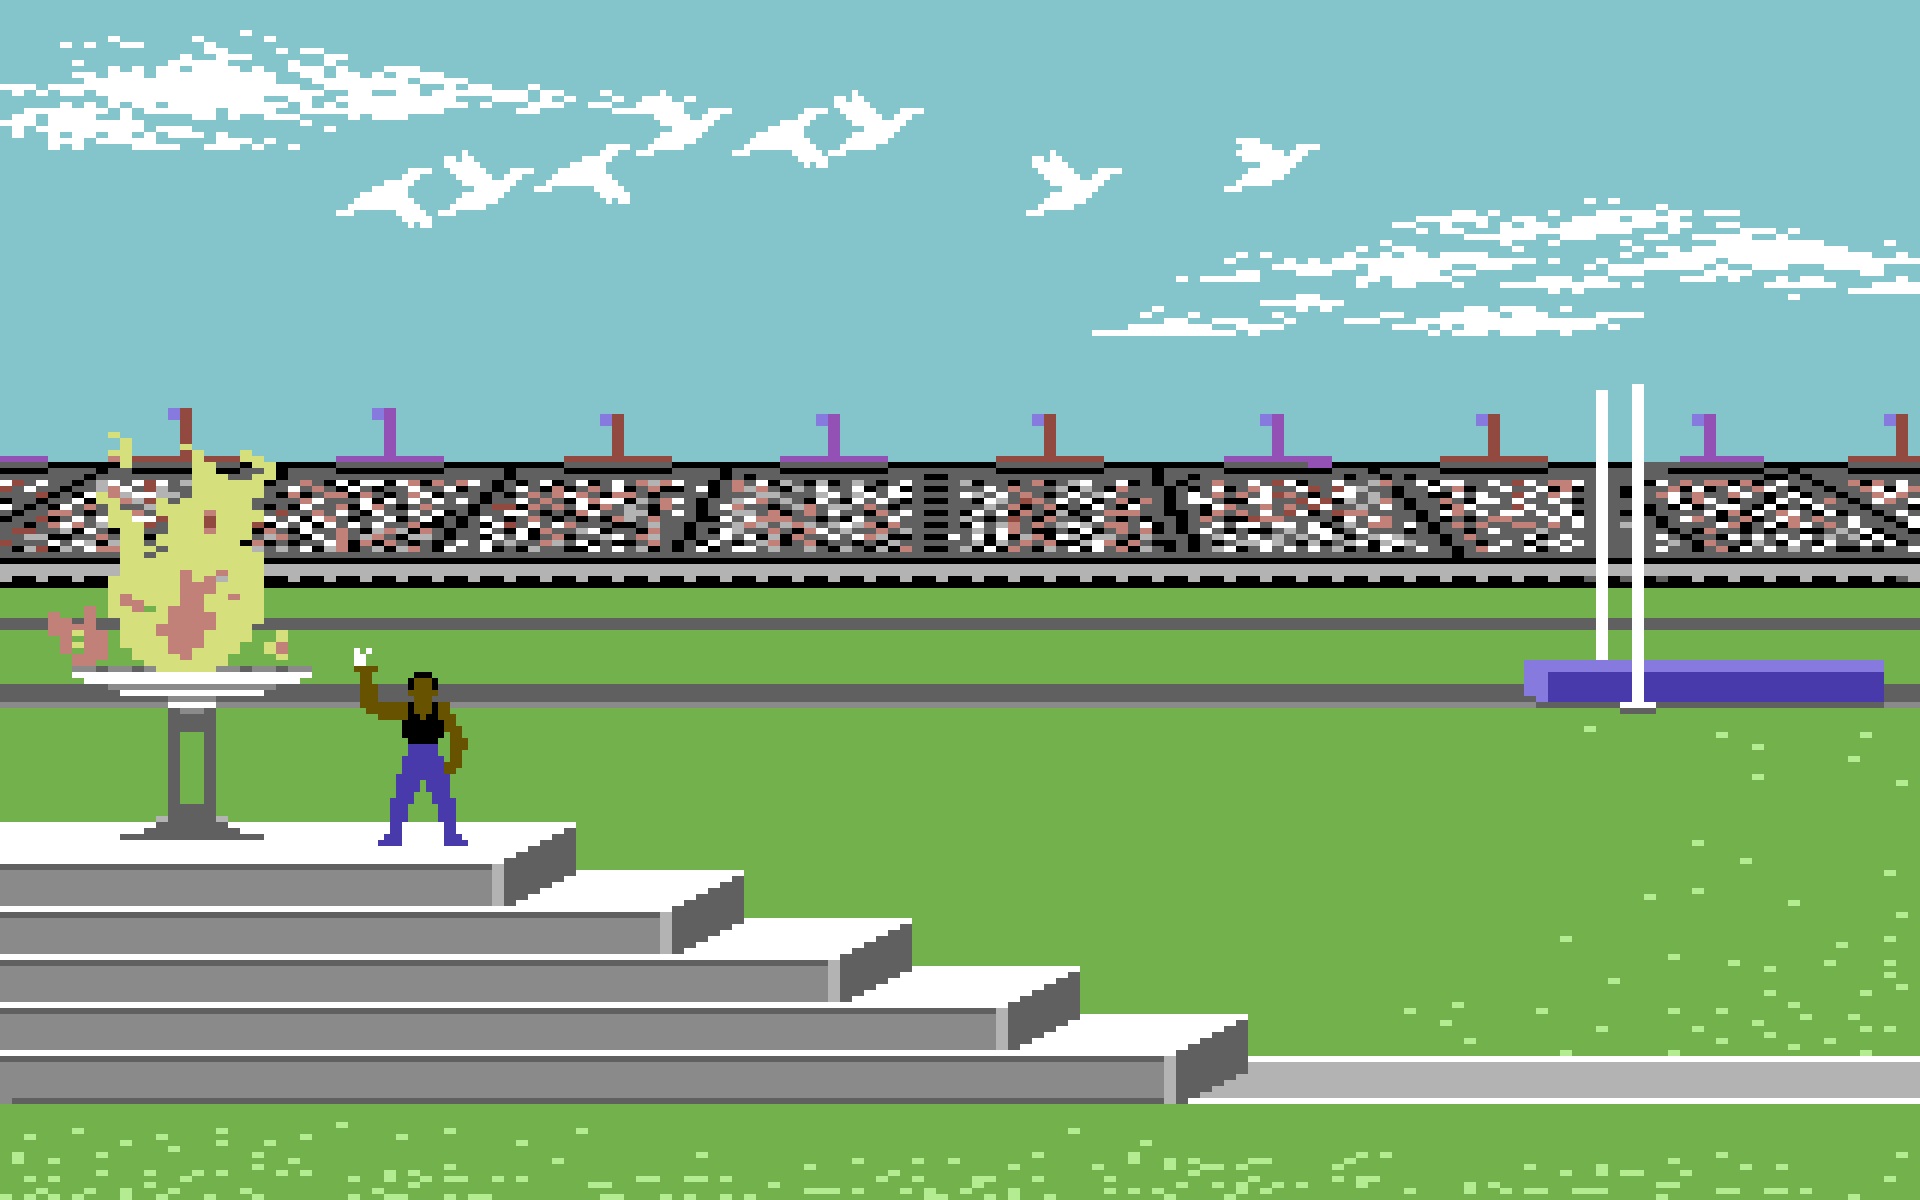
Since i grew up in the 80ies I have a lot of fond memories of playing classic games like “Summer games” or “Indiana Jones and the fate of Atlantis” on my Commodore 64 or Amiga 1000 and later on my first PC that had a 40MB hard drive…..


Dozens of consoles in one box
So when I came accross an ad on Facebook that was trying to sell me a retro arcade box with either 10’000 or 45’000 games for a multitude of retro consoles, I started to do some research on the topic. The offer on facebook tried to sell me a 64GB raspberry pi based system with a wired controller for 169 Euros and the 256GB version for 269 Euros. This seemed a little steep so I decided to build my own which took me about a week.
What components will you need ?
So here is a list of the components that you will need if you decide to build your own retro arcade system:
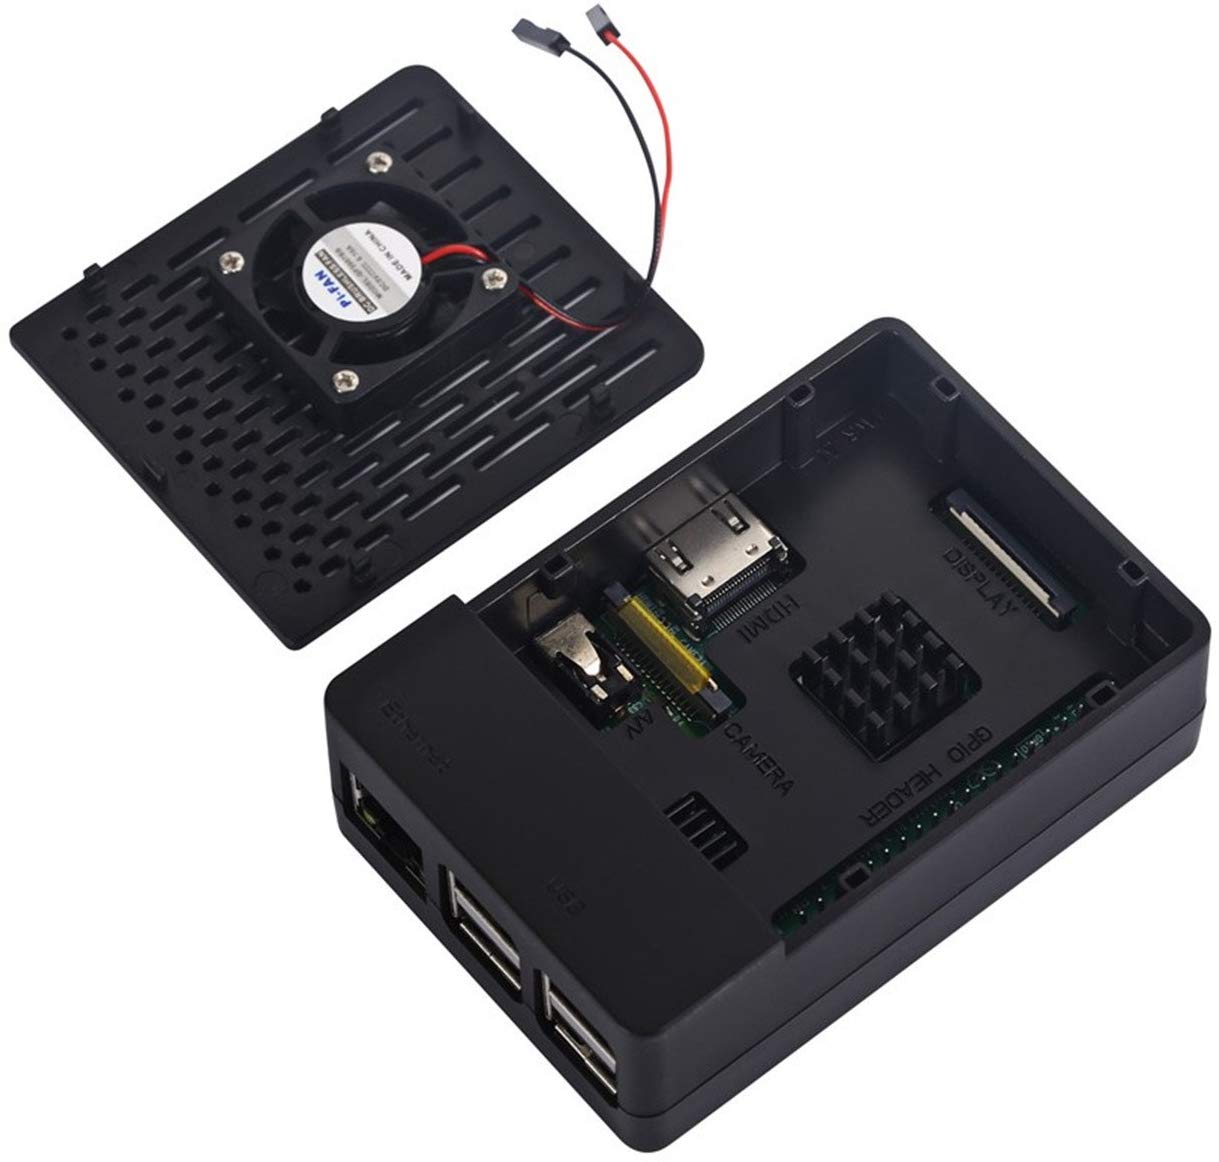
- Raspberry Pi 3/3B/3+ / 35 Euros on Amazon
Raspberry Pi 3 Model B ARM-Cortex-A53 4x 1,2GHz, 1GB RAM, WLAN, Bluetooth, LAN, 4x USB - Raspberry Pi Case with fan as well as heat sinks / 10 Euros on Amazon
GeeekPi Case for Raspberry Pi 3 Model B+ with Fan and 3 Heatsink for Raspberry Pi 3/2 Model B (Not Raspberry Pi Board) - HDMI cable / 6 Euros
AmazonBasics HL-007306 Hochgeschwindigkeits-HDMI-Kabel 2.0, Ethernet, 3D, 4K-Videowiedergabe und ARC, Ultra-HD1.8m, Schwarz - 256GB micro sd card / 38 Euros
ARCANITE 256 GB microSDXC-Speicherkarte mit Adapter – UHS-I U3, A1, V30, 4K, C10, microSD – AKV30A1256 - Wireless PS3 controller / 16 Euros
BAONUOR Wireless Controller für PS3, Bluetooth Gamepad mit Dual-Vibration 6-Achsen Rechargable Remote Controller/Gamepad für Playstation 3 - Recalbox retro arcade OS / free download at https://www.recalbox.com/
- Games / Roms / free download at https://www.arcadepunks.com/pi-images-downloads-page/
So the whole set of parts was roughly around 100 Euros. Much cheaper than the proposed 269 Euro offer.

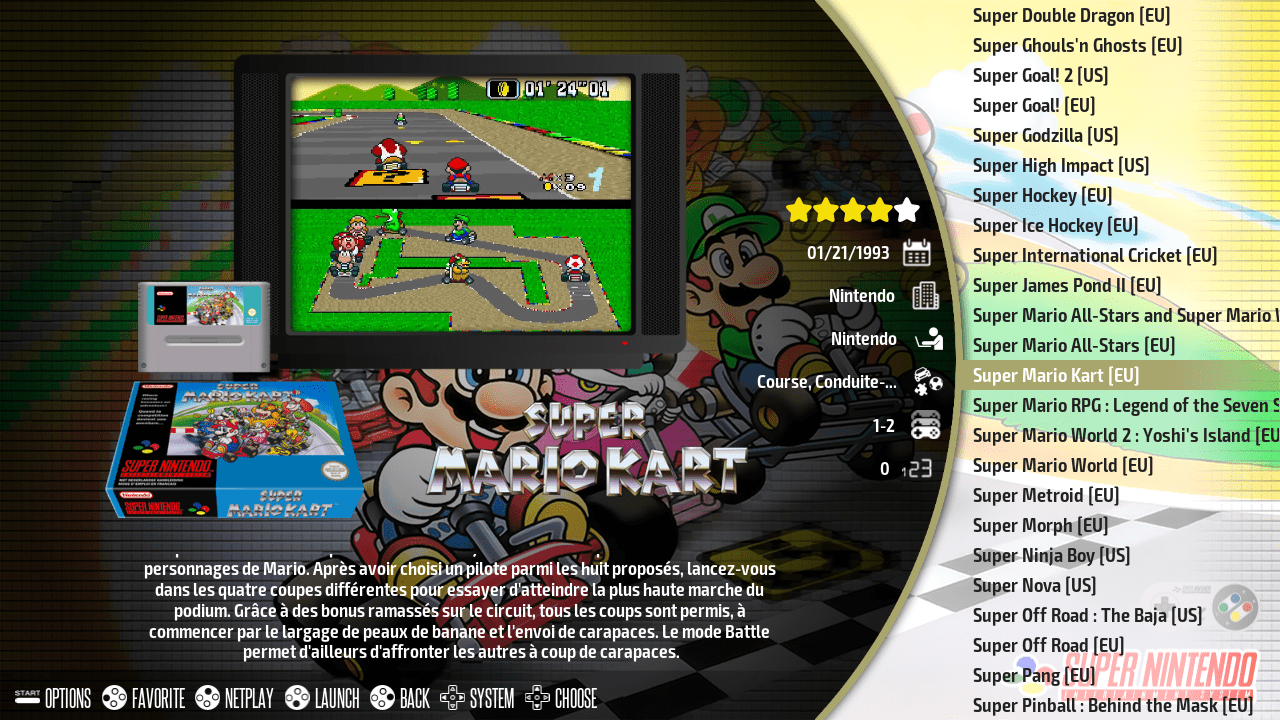
There are also a lot of raspberry pi cases that mimic the look of retro consoles. I just wanted to go with a clean black look but if you are so inclined you can get a case that looks like a super nintendo console from the old days:


How to begin ?
Get the games
While I was waiting for the stuff to be delivered from Amazon I went to find the games I wanted on my retro arcadet setup. I found a bunch of “rom sets” which are collections of games on https://www.arcadepunks.com. Bear in mind that you need to own the originals of the games in order to download them legally…
Anyway – Some of these sets are huge and it took a couple of days to get them all downloaded.
Decide where to store the games
Recalbox allows you to either store the games on the internal micro sd card or on an external USB drive. Even tough I had already bought a big 256GB sd card I decided to go with the external USB drive option as this allows you to more easily add the games later.
Install your recalbox OS
Download the recalbox OS from https://www.recalbox.com/ and flash the image onto your micro sd card using a tool like etcher. Just google for “flash sd card” and you will find a bunch of tools.

Insert the card into your raspberry pi and power up the system. You will be greeted with a rather bland menu (you can change the look later easily by installing extra “themes”, more on that later) that already lets you switch between dozens of systems. There even already are a bunch of games already installed in the standard setup.

Connect a wired or wireless controller
In order to access the menus you need to have a controller connected. I chose the use a no name PS3 wireless controller as it is supported out of the box. You just need to:
- Connect the controller to your raspberry pi using the included USB cable
- Leave it connected for a couple of seconds
- Disconnect the cable and
- press the “PS” button for a couple of seconds until the controller lights up with a single LED in the front
- that’s it

Connect a wireless keyboard or mouse
At first I did not plan to do this. However since I really wanted to play the old graphic adventure games from Lucasarts like “Indiana Jones and the fate of Atlantis” or “Monkey Island” or “The Dig”, I had to install a bluetooth mouse.
You can easily connect any bluetooth mouse or keyboard via the “controller setup” pane. I connected an old magic mouse from an older mac without any issues.
Copy your games
Set up your external drive
Using an external drive has a huge advantage in that you are then able to detach the drive, connect it to your PC or MAC in order to transfer the roms quickly. At first I thought I would just remove the internal sd card and put it into my Mac in order to copy the games, but unfortunately the filesystem is not accessible once the sd card is removed from the raspberry pi.
In the system settings you can either chose your internal sd card or any external USB drive or USB stick. Pick your external drive, hit OK and the system will reboot. After the reboot it will create all the necessary folders on your external USB drive, especially the “roms” folder where all the games will need to be copied.
Using your external drive
As I already mentioned you can copy your games easily to the external drive by just connecting it to your PC or Mac. This is by far the quickest solution for the initial copying of hundreds of megabytes or even gigabytes of games. You can use the network to later add individual games.
Over your network (wifi or ethernet)
You can also copy them over the network which requires you to first connect your raspberry pi to your local network via wifi or ethernet. This can easily be done via the “network settings” pane.

Once you are connected to the network you can connect to your recalbox either by using the hostname “recalbox” or by connecting to the IP address that you see displayed in the network settings. On my mac I used the “connect to server” function which then lets you access the “share” folder where all the necessary files are stored.
Watch your temperature….
I at first had ordered a fan-less raspberry pi enclsore with almost no ventilation openings. While I was testing different themes I got a small red temperature icon warning at the top right corner of the screen. This is a raspberry pi internal firmware warning if the temperature of the device gets to around 80-85 degrees C. This was defenitely too hot and needed to be corrected.

This is why I immediately got a new case with an integrated fan. I have it running in “quiet mode” and I have not had any temperature warnings since.
Change the look of the interface
I did not really like the look of the standard interface so I went looking for extra “themes” for recalbox online. I found a bunch of them and ended up installing the “next pixel” theme if found here: https://samystudio.github.io/es-theme-next-pixel/

Themes can be installed easily. Just download the theme, unpack it if it comes in .zip or any other archived format and copy the folder to the “themes” folder in your “share” folder on your recalbox.
Once the theme has been copied just restart your box. Most themes then let you make even further adjustments within the “UI settings” pane. There you can decide to either use a vertical or horizontal arrangement of consoles as well as how each individual game information is being displayed.
Add images and information for all your games
When you first copy all your games to your recalbox they will appear in the individual consoles after a reboot but you will not have any pictures or information text about any of the games. In order to get that you need to “scrape” your games.
Recalbox lets you do this using the “scraper” command in the settings. This will automatically add all the images and information for all the games on your system. This will take quite a while if you have just copied 2000 mame arcade games to your system. Just be patient : )
Verdict
This was a great little project which only took a couple of days. You can find a ton of information and tutorials online to help you out if you should get stuck. Just google for “recalbox tutorial” and you’re all set.
Compared to the commercial products that are being sold for (in my opinion) ridiculous prices, this is a much cheaper solution and you even learn about installing and running a raspberry pi based system during the process.


